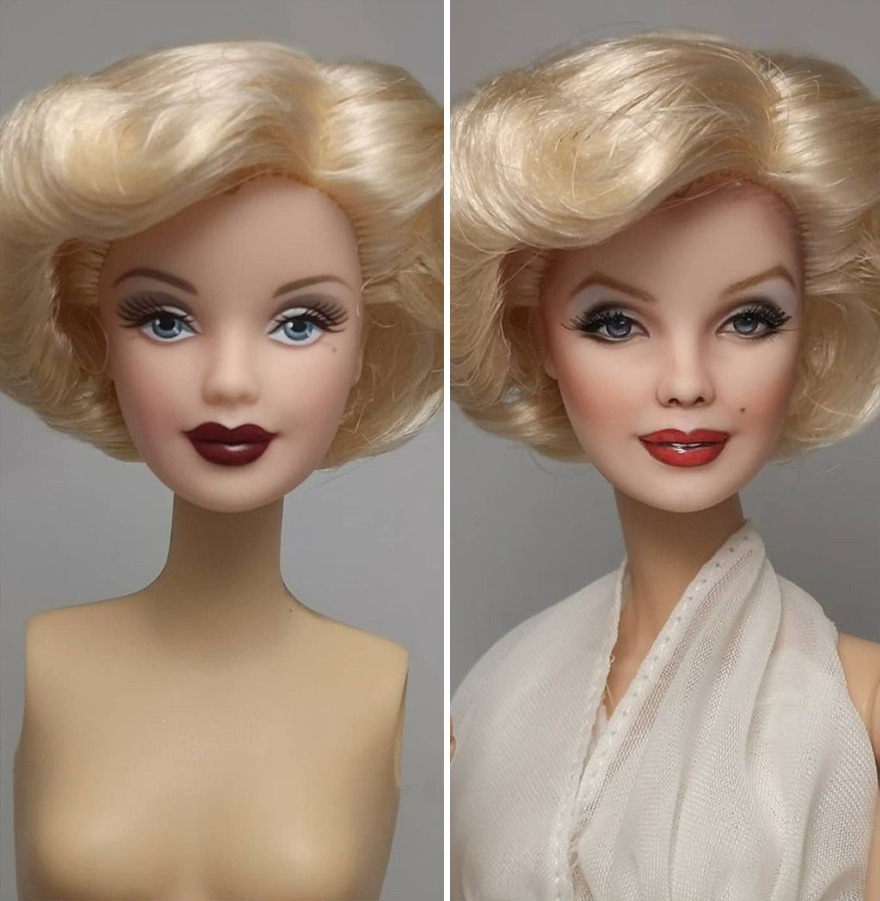
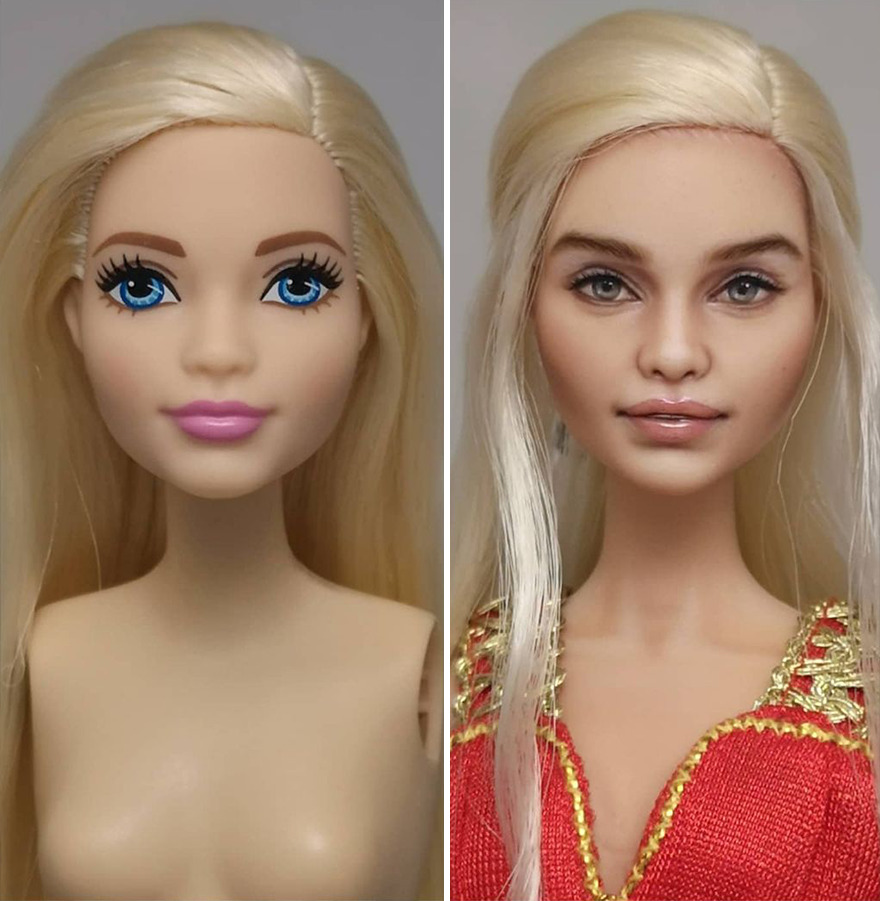
30 Repaints Dolls In A Real Way!
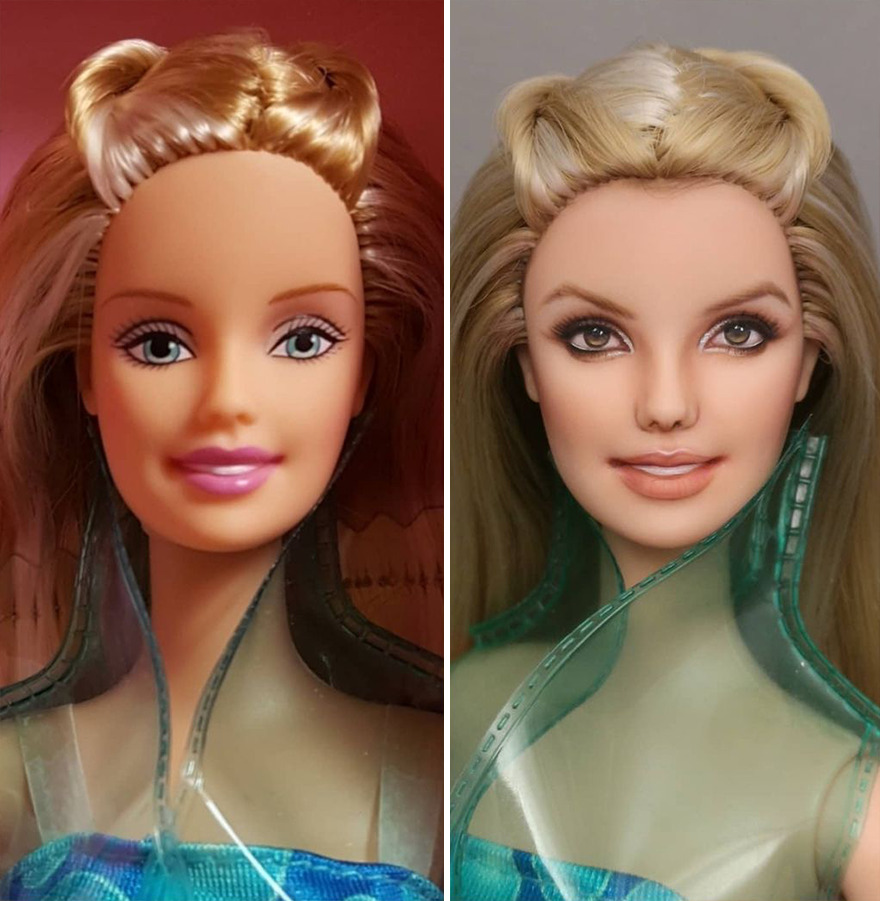
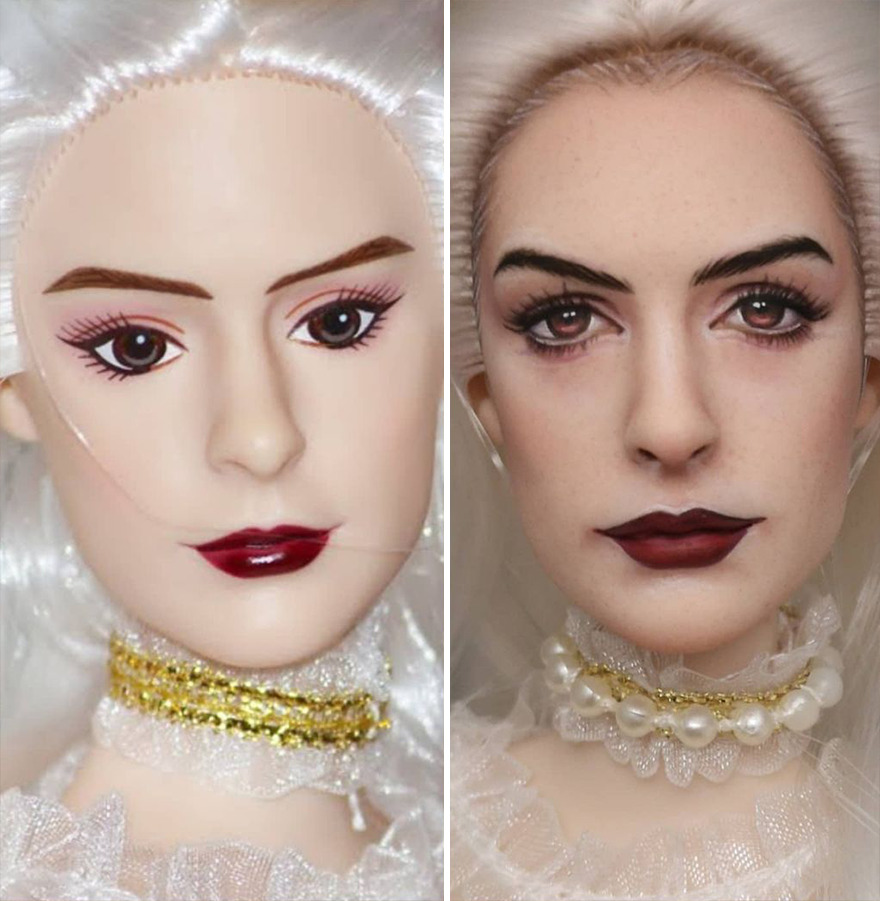
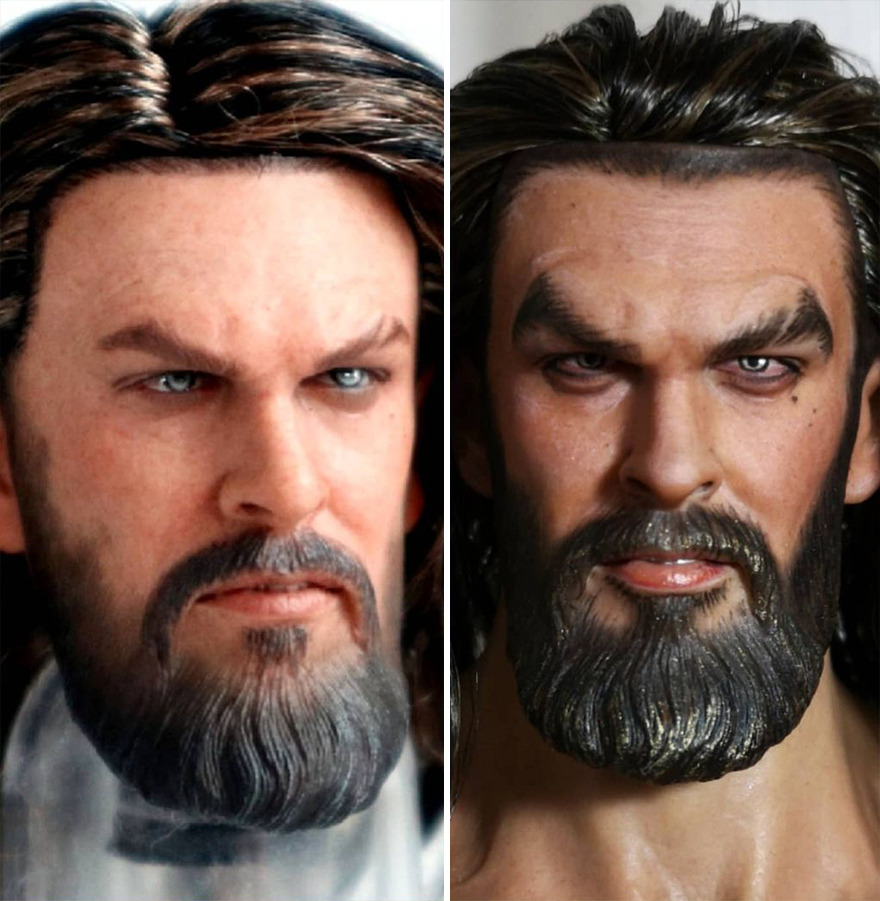
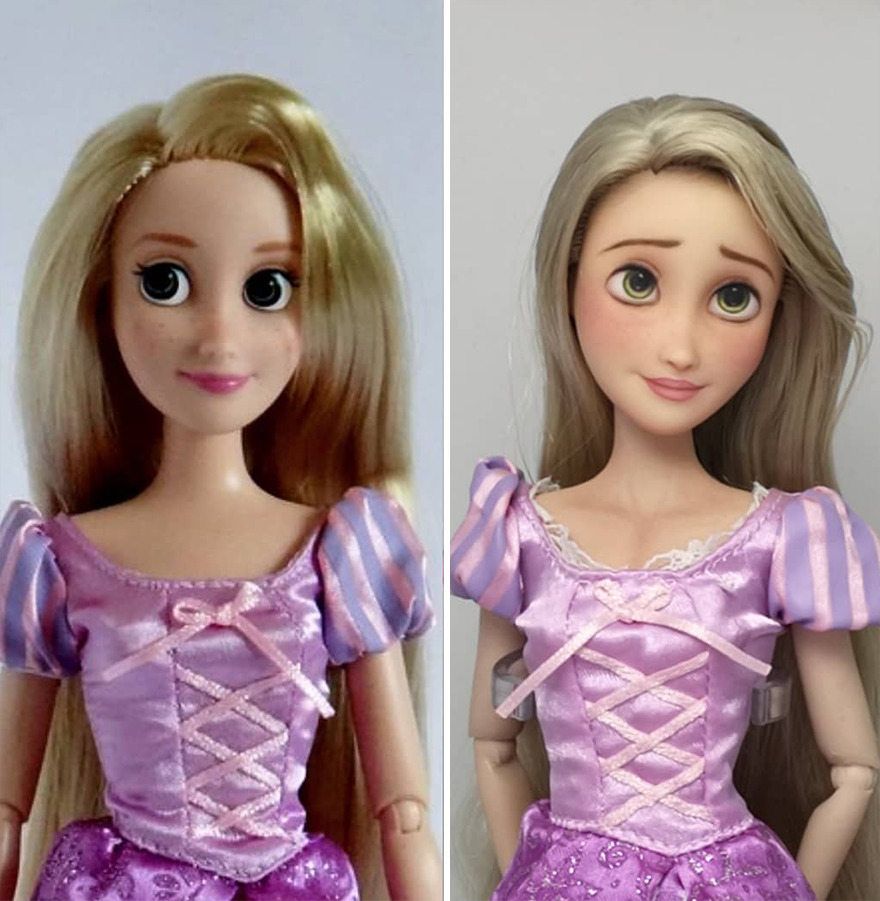
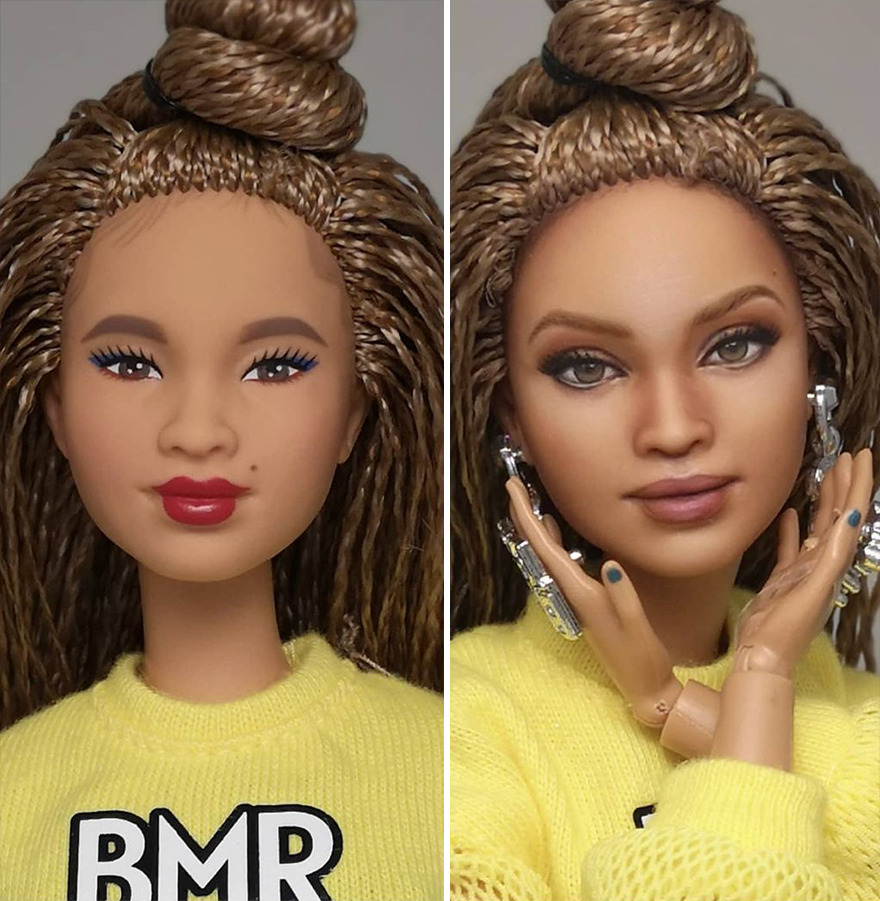
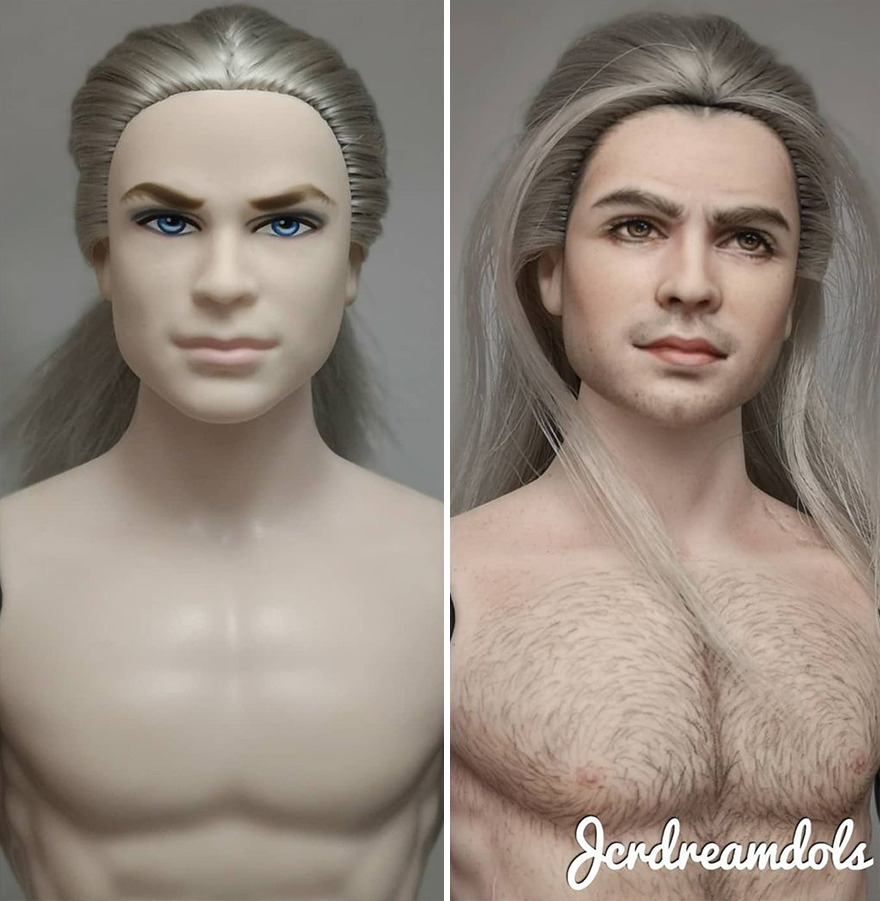
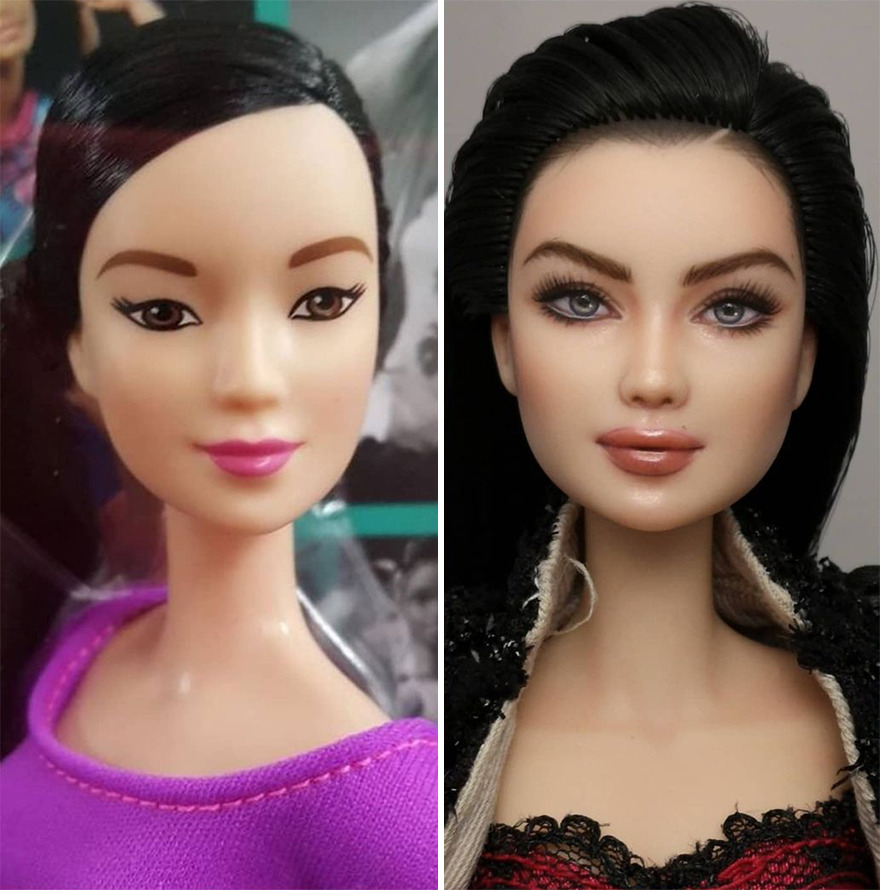
Doll companies paint dolls in a real way. The doll polish seems like real characteristics from tv shows, books, and movies. The dolls are more like girls and less like cartoons.
Doll customization and repainting are one of the trendiest hobby fads right now. It gained popularity more than 10 years ago when people began dressing up Barbies in custom clothes and turning them into fairies.
Today, the majority of renovations are performed on the most popular brands (such as Barbie, Nightmare High, and Plenty of Dolls) as well as other collections.
eBay is a fantastic showcase for these custom dolls, and it’s a perfect place to go if you want to buy one rather than make it yourself.
Some artists are so gifted that they may fetch sums in the hundreds or thousands of dollars for their works. Most collectors first see a repainted doll here and realize it’s something they want to try for themselves.
Repaints necessitate a great deal of trial and error.
Table of Contents
#1
#2
To begin, you’ll need a few inexpensive dolls to practice with. Use playline Barbies, which are under ten dollars, or Monster High dolls if you prefer that basic shape.
Even if you intend to paint the larger Tonner dolls in the future, start with less expensive models so you won’t be disappointed if you have to redo them several times. If you must start with a Tonner, look for an inexpensive older one on eBay.
#3
Some folks like to begin painting over the current factory paint to get a sense of what it’s like to paint on a 3D surface.
Professional doll artists never paint over existing paint, but many beginners do when they first start. This allows you to get a sense of how the paint feels on your brush, how it flows, and how the doll’s features form up.
#4
After you’ve become used to handling your supplies, you’ll need to remove the factory characteristics from the doll and practice on a blank face.
You will be eliminating the face when you are bold enough to begin. For vinyl dolls, most artists use straight acetone, which is the quickest and most efficient process.
#5
It is completely safe and causes no harm to plastic. However, avoid getting any acetone on the body because it may damage the vinyl. Before you begin working, wrap everything but your head in a cloth or paper towel. This keeps inadvertent drips, smudges, and grime at bay.
You can begin after you have a blank canvas to work with.
#6
You’ll need a really bright light when you set up your desk, right? It is better to use daylight bulbs and a low table lamp. I utilize two OTT lights, one on each side, as well as two additional lights. Incandescent bulbs have a yellow hue, so I offset them with the Daylight CFLs used in OTT lamps.
#7
You won’t be able to paint successfully if you strain to see, so make sure your workspace is well-lit.
#8
Magnification will be required.
Here’s something I recommend to everyone: A magnifying visor lens worn on your head. Why is this so advantageous? Because, while my eyesight is adequate for close work, I lack bionic magnifying eyes that allow me to see minute detail.
#9
You may think your doll is beautiful, but when you examine her with a magnifying glass, you will notice all of the flaws you did. These errors will be visible in images if you intend to sell them.
If your repaint looks well under magnification, it will seem great to the naked eye and will increase the likelihood of a sale. For paint removal, you’ll need paint, brushes, and acetone. If you like, you can start with cheap craft shop paints, although they are far more difficult to work with.
#10
The amount of pigment versus filler is the difference between cheaper and more expensive products. I prefer Golden brand fluid acrylic paint because a small amount lasts a long time. Some folks use Liquitex tube paints, which require significantly more thinning.
For the past thirteen years, I’ve used the same brush: an American Painter size 10/0 Spotter. It has synthetic bristles and is affordable. I tried more expensive brushes with actual fur bristles and didn’t like them at all.
#11
How to Apply Eye Makeup
Because the eyes are the focal point of a doll, learning how to do amazing eyes is essential. I like to begin with defining the shape of the brows since this can set the tone for the rest of the makeup.
#12
If you must use a craft store brand, Apple Barrel, Folk Art, or Delta are popular choices. I use Liquitex matte and gloss to coat the entire face. This is where the doll will gain a lot of her expression.
Following the brows, I outline the eyes and lips to achieve the overall form I desire.
#13
I outline the eyes, then fill in the whites, add shade, and paint in the caruncle (the triangle at the innermost corner).
Shading can be utilized to create the illusion of roundness in a flat space. Some Barbies have a very flat eye area, so you’ll need to use shading techniques to achieve a rounded look. This is more advanced and is not typically performed by a beginner.
#14
All of this will become clear to you over time.
I then apply eyeshadow colors, then the iris, and finally the pupil.
Following that are the lashes and liner, followed by the white highlights in the eyes.
#15
After defining the shape with a preliminary outline, I add all of my highlights and shading, concluding with a gloss or matte sealer after they are totally dry. Before I seal the eyes and brows, I apply blush.
When I’m satisfied with the doll repaint, I let it cure for a couple of hours before sealing any residual painted parts with a matte sealant.
#16
Because everyone has their own style and preferences, what works for me might not work for you. As you acquire experience, you’ll develop your own style.
This is a question that is occasionally asked.
I used a Sharpie to color the hair of my doll. How am I going to get that off her face? What options do I have?
The simple answer to this question is that it will be nearly tough to eradicate. You can use Oxy Ten Cream and leave it on the stained region for a few days, and if possible, lay her in the sun to aid in the whitening process.
On the other hand, Sharpie should never be used on vinyl dolls since it bleeds, as your doll did. It isn’t much else you can do if the Oxy Ten Cream doesn’t work.
Sharpie markers are permanent and stain the vinyl horribly, and there is nothing you can do about it. At the very least, you’ve learned your lesson and can avoid repeating it.
#17
How to repaint old Barbies;
Remove the factory paint from vintage Barbies before repainting them. Gently brush off the factory paint with cotton swabs dipped in acetone, nail polish remover, or isopropyl alcohol.
Remove as much paint as possible, as residual paint might make repainting harder. To avoid damage to the plastic, rinse the head immediately after removing the paint.
#18
Tie the doll’s hair back. Keep all of the doll’s hair back and out of her face, and cover it with a cloth. This will keep sealant from becoming trapped in her hair and making it sticky or stiff. Cover as much of the hair as possible and secure it with a rubber band or hair elastic.

#19
Spray sealant should be applied in two coats. Make sure to perform this outside because the chemicals used are quite hazardous.
Allow at least 15 minutes between coats for the head to settle and dry. You’ll need to spray the doll two or three more times in between layers of paint, but this is entirely up to you. Keep an eye out for when you need to apply a new layer.
#20
Suppose you’re using delicate pastels, shades, and blush with them. Grind the pastels back and forth on a piece of printer paper to scrape out the powder, then apply it to the head with paintbrushes.
To give flushing and depth to the face, use pink and flesh-tone pastels. Use a natural pink to shade the doll’s cheeks, then brown to darken the region around her eyes and underneath her nose. To make her cheekbones stand out, darken them. After this layer, it’s a good idea to seal.
#21
Make the whites of the eyes. Color the doll’s eyes in the desired shape with a white colored pencil or white paint. You don’t have to perfectly follow the sculpt outlines, but you will need to work with the contour of the doll’s head to get the right look.
If you’re using paint, let it dry completely before proceeding to the next layer.
#22
Draw the outline of the eyes and the lashes. Outline her eyes with a darker shade of the doll’s hair color, following the contour that you defined with the white. Use the same color to add lashes around the outline, and a darker shade to define the lashes further.
#23
If you’re painting, make your brush strokes short and precise, and avoid big, blocky lines.
#24
Fill in the irises and pupils with color. Fill in the irises of the doll’s eyes with a color of your choice. This is when you’ll determine which way the doll will look.
Straight ahead is usually acceptable, but having her look slightly off to the side can add character. For the pupil, a black pencil will suffice, but small drops of black paint will seem more dramatic.
#25
Once the main eye is dry, accent the eyes with white paint. Small white paint dots work well for accentuating the eyes.
Dot the doll’s eyes with a very thin brush, just enough to make them look brilliant and alive. Use sparingly, as a large glob of paint will seem messy. Begin small; you can always add more later.
#26
Outline your brows. Make a gentle outline for the form of the doll’s brows with pastels and a fine brush. It’s critical to outline first because rushing can result in brows that don’t match. Fill in a form that matches the doll’s personality and desired expression slowly.
#27
Fill in your brows and create an eye crease. Draw or paint the brows in tiny strokes with the same colored pencil you used for the lashes. You want to imitate individual hairs rather than a straight line over her brow. Work carefully and deliberately, as it’s easy to end up with mismatched brows.
#28
Add a slight crease above the upper outline of the eyes with a brow pencil (or black if your doll has a dark skin tone) to give the eye additional depth.
#29
Use light pastels or your paint to blush the lips. Blush the doll’s lips to the appropriate hue using pink or red.
Vivid tones can look great on Barbies, but a more natural style may be more appealing to you. It’s easy to overdo the lips, so go slowly and watch what you’re doing. Follow the lip contour of the doll as precisely as possible, as this makes it much easier to get the lips to appear right.
#30
If you want to add extra detail, draw short, vertical lines on the lips with a dark pink or red pencil. Don’t go overboard.